Materials:
- 2 pieces of coordinating decorative paper, 1 for the handprint and 1 for the heart--For my 2 kids, I just flip-flopped the paper for the second child, but you could easily choose a different set of papers for each child.
- pencil
- scissors
- heart punch or heart template--To make a heart template (one that is symmetrical and can be used on each handprint you make), take a small square of cardstock or thin cardboard, fold it in half, and cut out half of a heart. Open it up, and voila! You have a heart-shaped template.
- white cardstock
- double-stick tape or adhesive of your choice
- regular scotch tape
- 1 picture frame for each handprint--I used a double frame.
- nice ink pen
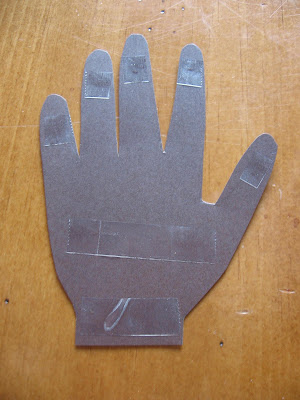
- On a clean work surface, flip over the piece of paper you intend to use for the handprint so that it is wrong-side up. Trace your child's hand print lightly with pencil.
- Carefully cut out the handprint.
- Using either a heart punch or a heart-shaped template, cut a heart out of the coordinating piece of paper.
- Apply adhesive to the back of the heart. Carefully position it in the center of the handprint, and press to attach.
- Cut out a piece of white cardstock that is A) exactly the same size as the opening on your frame if there is no mat, or B) slightly larger than the opening on your mat if there is one.
- Apple adhesive to the back of the handprint. Carefully position it in the center of the white cardstock, and press to attach. Don't worry if it isn't centered exactly or is slightly crooked. You can fix this in a minute.
- If you want to write the child's name and year on the picture somewhere, do that now.
- If there is no mat with your frame, place the handprint into the frame behind the glass, replace the frame back, and you're done! If there is a mat with your frame, continue with the next step.
- Place a piece of scotch tape on the back of the cardstock so that half of it is stuck to the cardstock and half of it isn't stuck to anything. The handprint should be facing up, and the tape should be sticky-side up. Lay the cardstock carefully on your work surface.
- Take the mat right-side up, carefully position it over the cardstock so that the handprint is centered and place it right on top of the cardstock. Gently press where the tape is to attach the mat to the cardstock.
- Gently flip over the mat, and apply another piece of scotch tape to each edge of the cardstock so that it is securely fastened to the mat.
- Place the mat back in the frame so that the handprint is facing out, replace the frame back, and you're done!
- Repeat with as many other handprints as you want!!


Cute!
ReplyDeletecute- I'm saving that for christmas!
ReplyDeleteI love this idea. I think I want to make it for myself...
ReplyDelete