Friday, January 29, 2010

Birthday Give-Away!


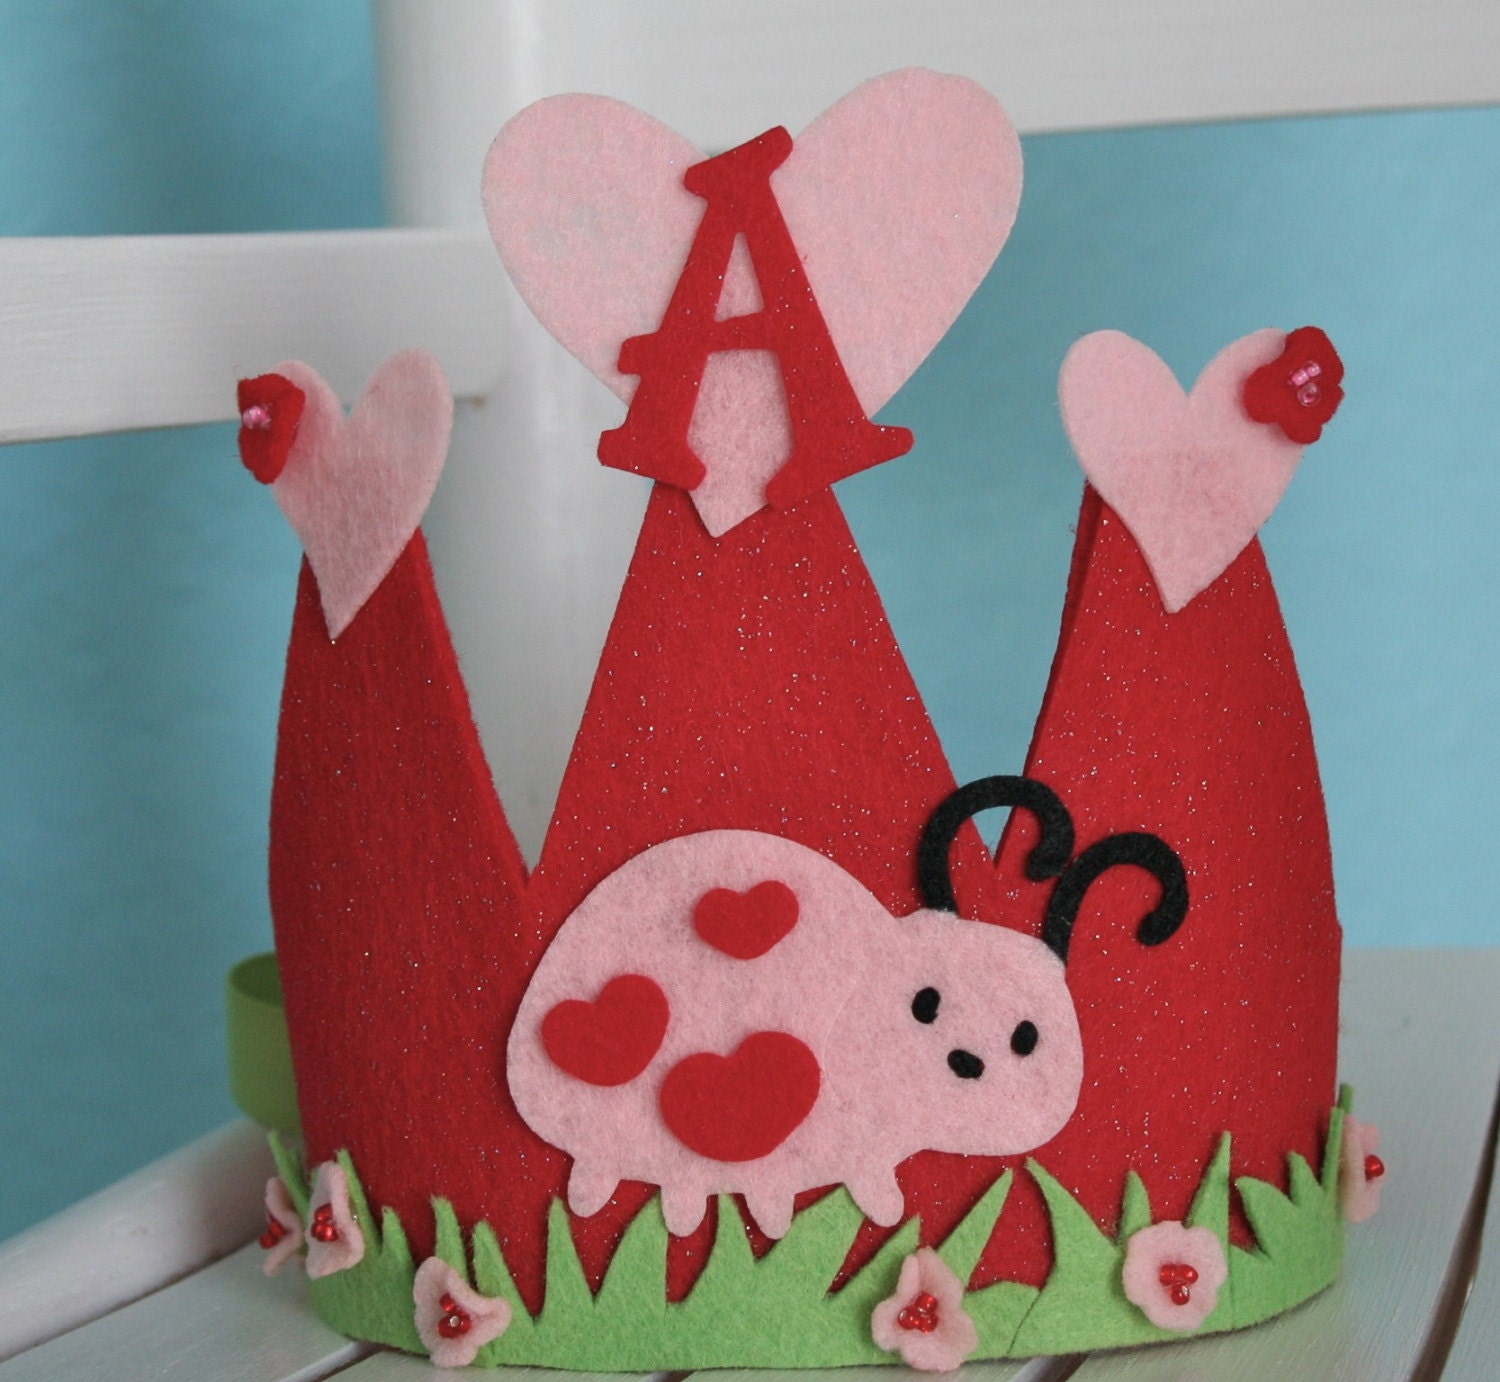
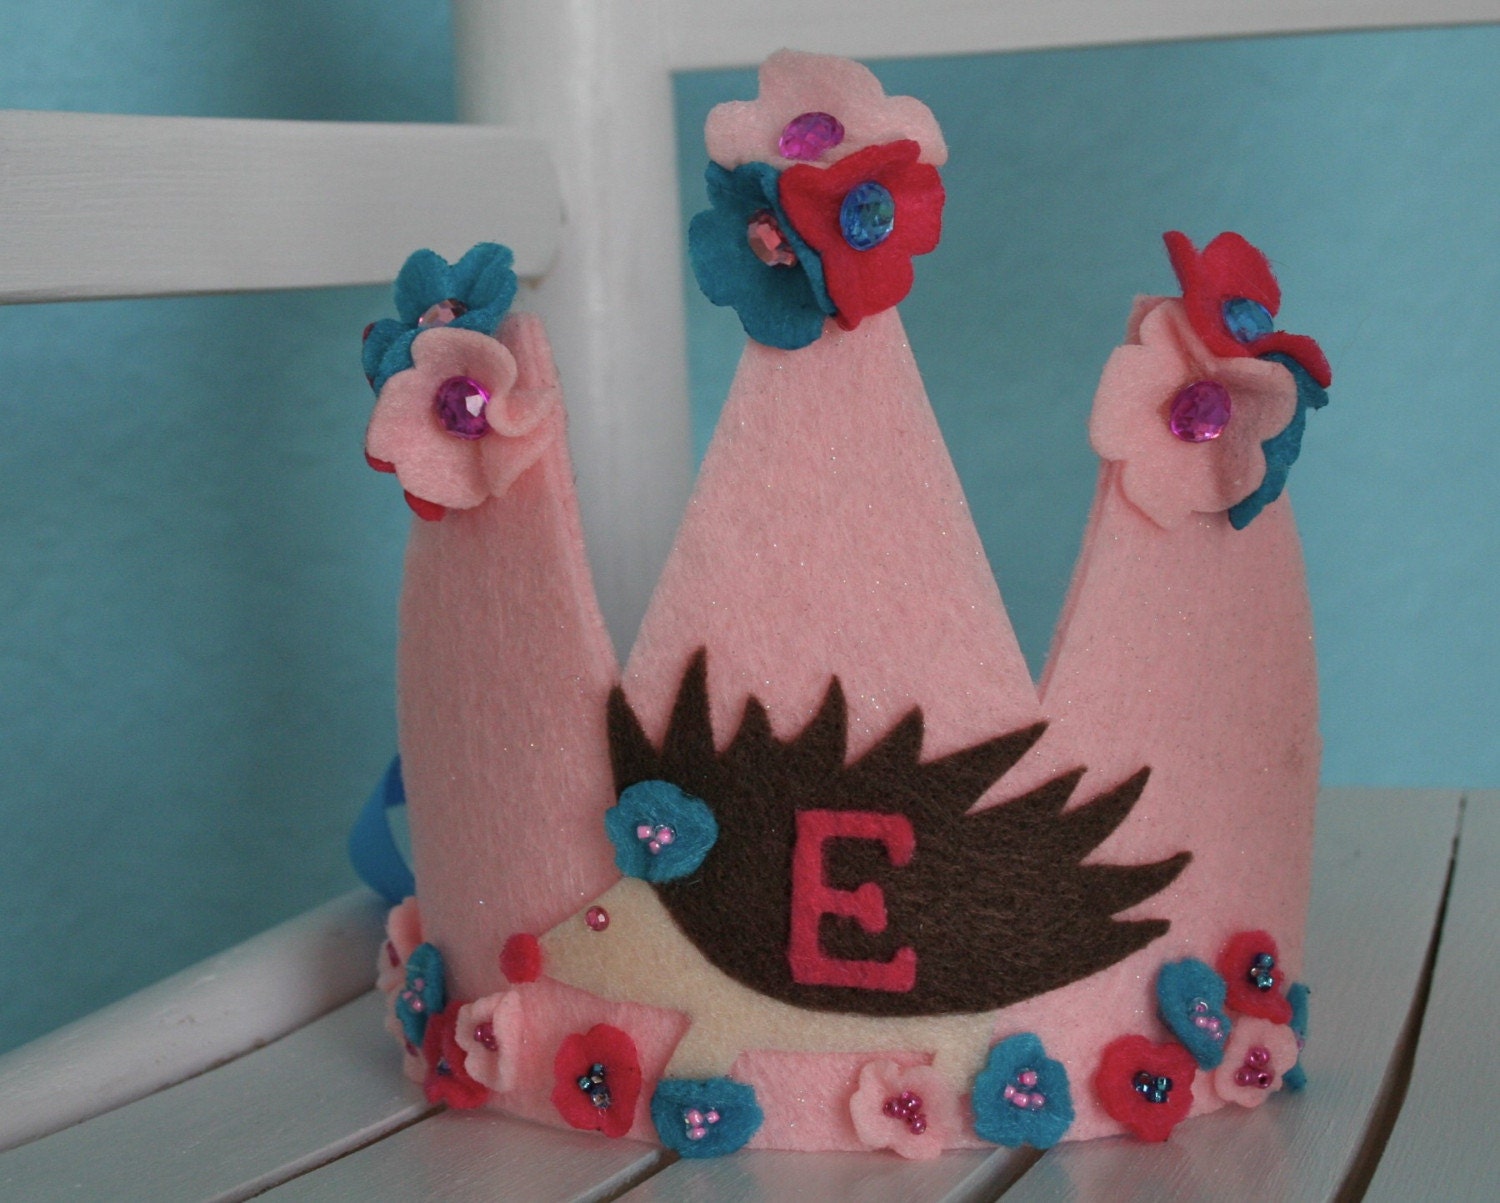
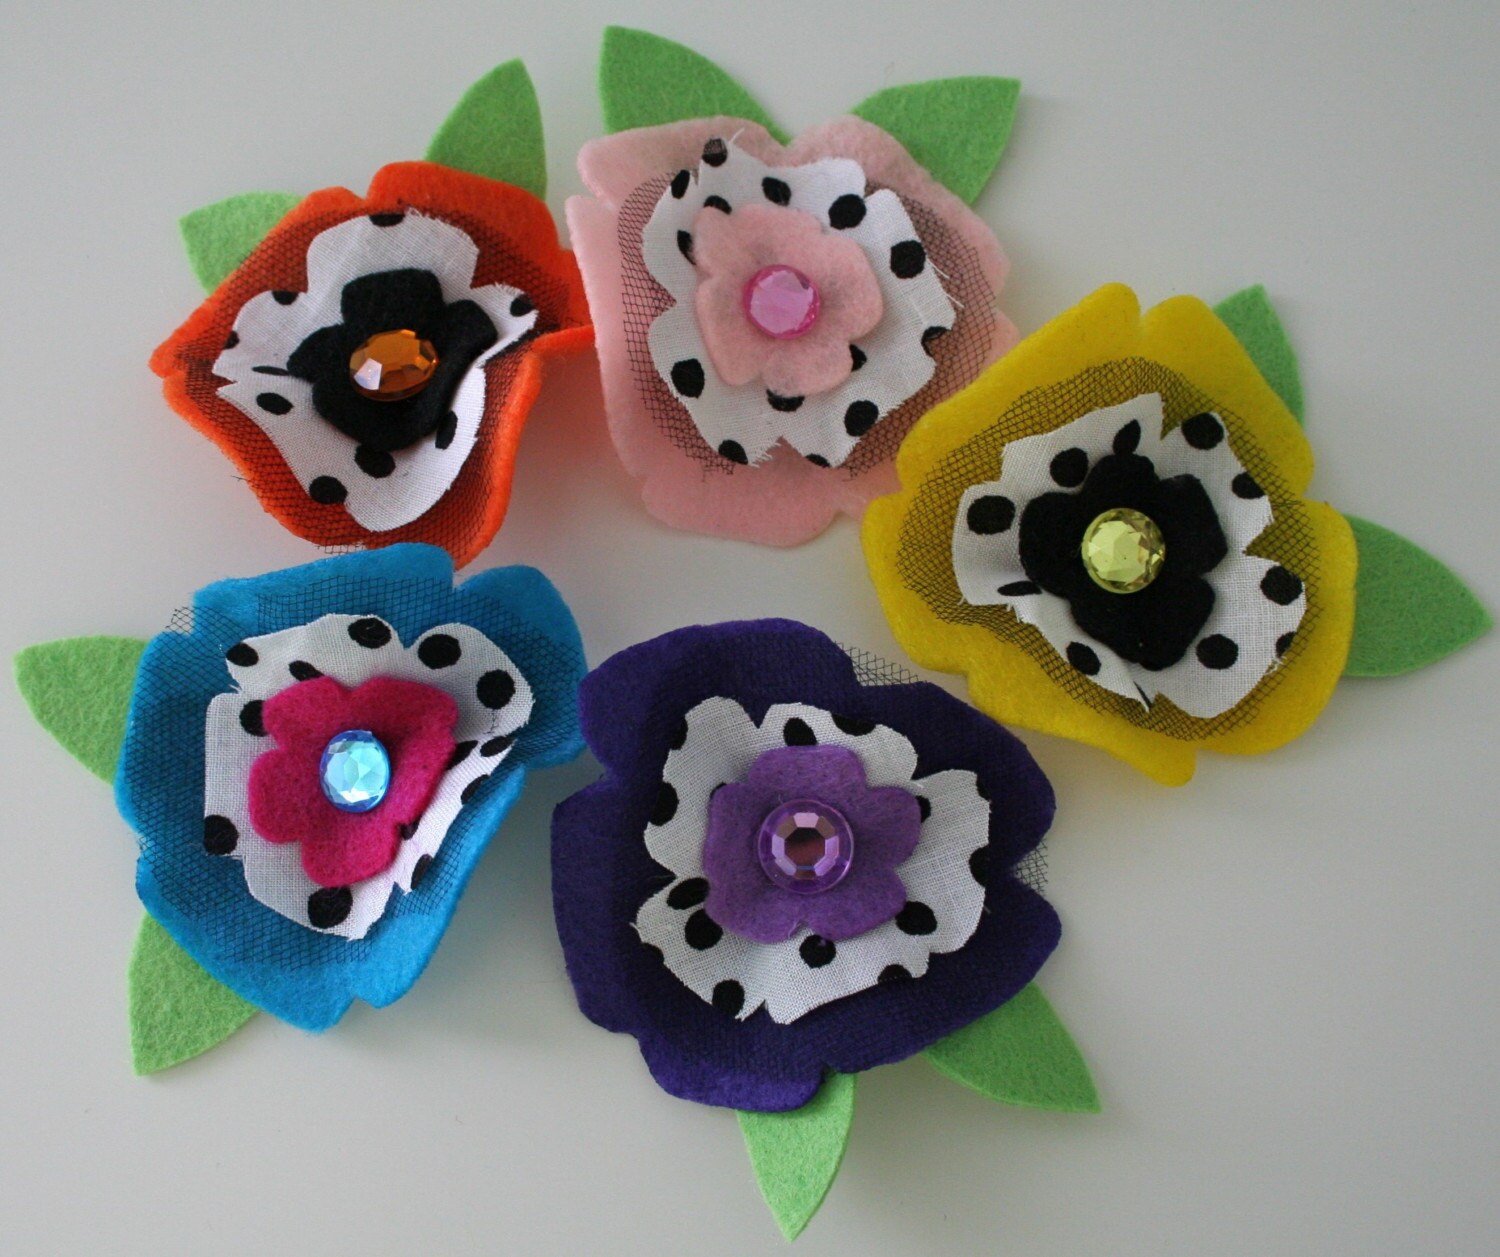
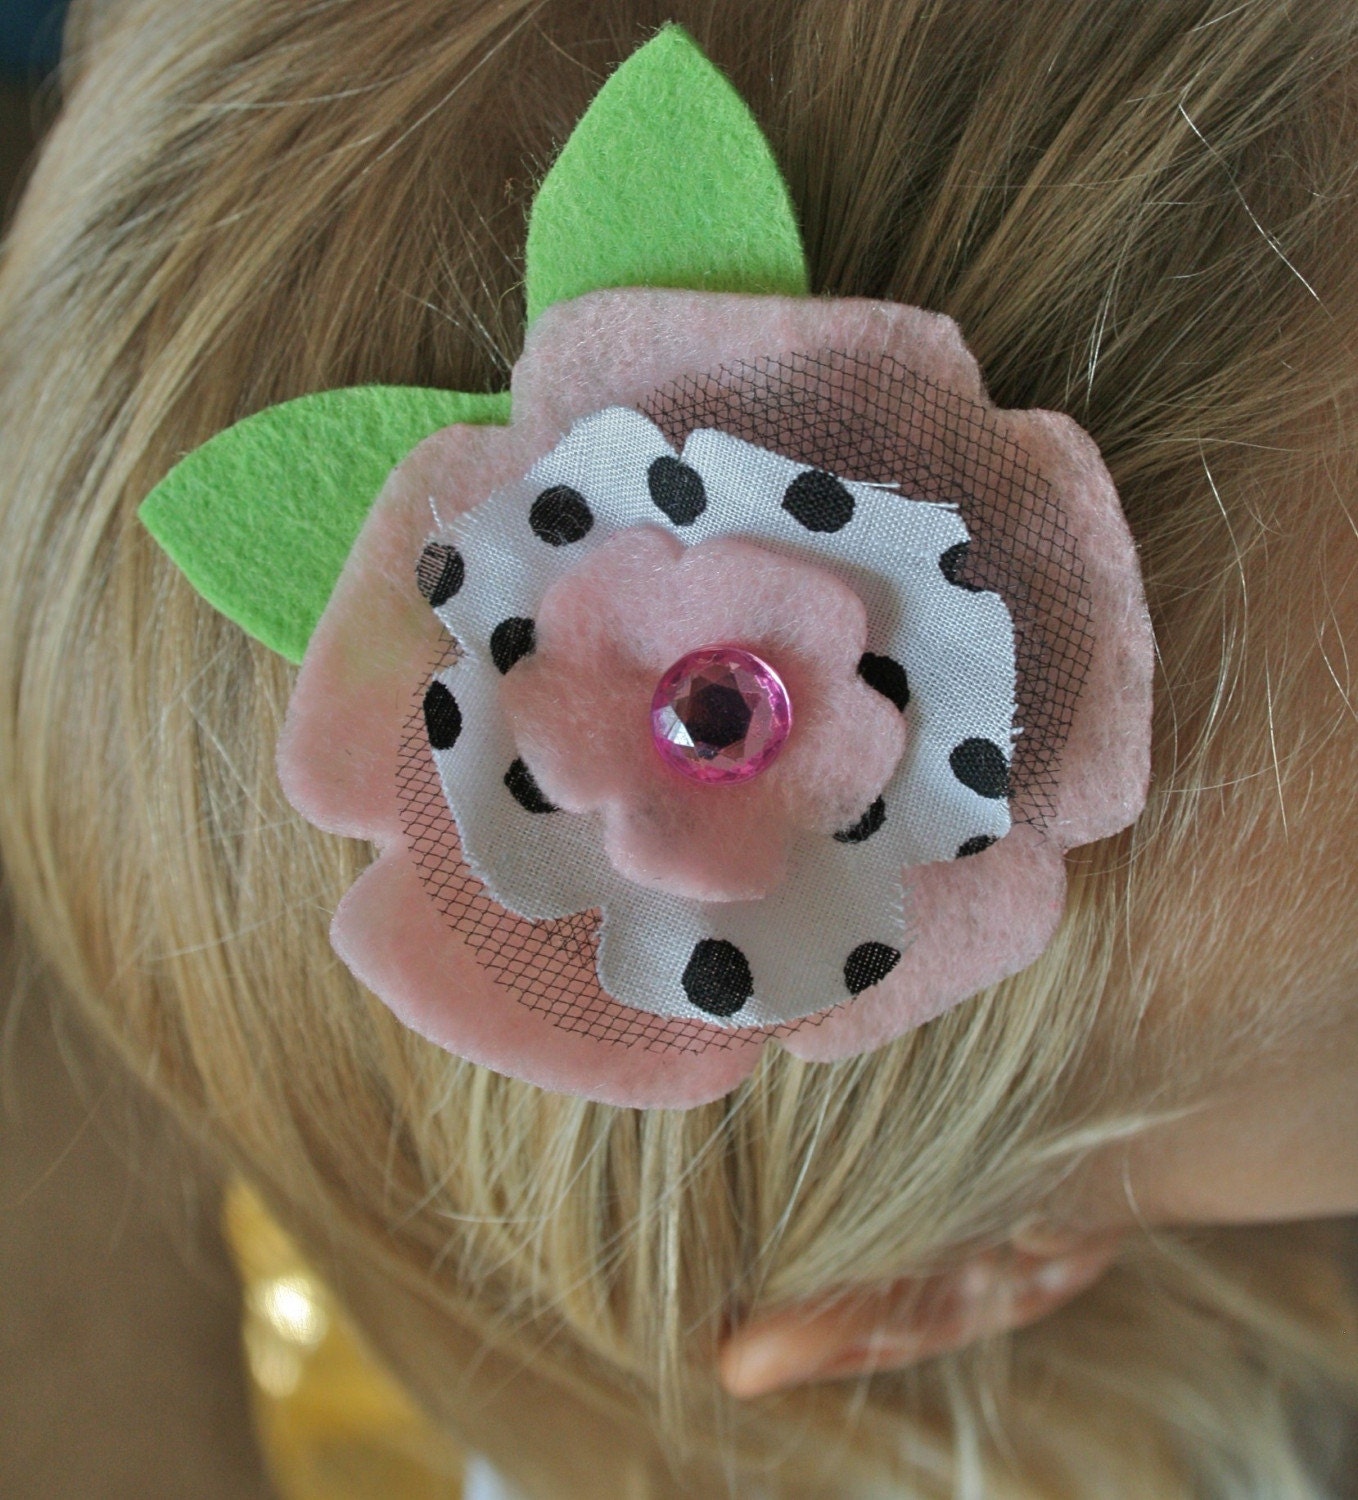
Today is my birthday! Happy Birthday to me! In honor of this hallowed day, we at Max and Ellie are giving away a copy of Let's Make Cute Stuff by Aranzi Aronzo to one lucky reader. Cute Stuff is full of fun patterns for softies, bags, felt things, applique, embroidery, key rings, coin purses, etc. To win this fun-filled book, simply leave a comment below. And if you mention our give-away on your blog, you can have an extra entry; just leave a separate comment letting us know you blogged about it. Make sure you include your email address in your comments so that we can contact you if you're the winner. We'll leave the comments open for exactly one week, and will randomly choose a winner next Friday morning. Best of Luck!!

Thursday, January 28, 2010

Puppet Show Curtain


I saw a puppet show curtain how-to online at some point in the past and thought it was cute, maybe a "Someday" kind of thing. I added it to my ever-growing list of bookmarks and forgot about it. Then, last summer, when the sun wasn't setting until 10 PM and my children were going to bed while it was still light outside, we switched the curtains in their bedroom to blackout curtains. This gave us four nice-looking curtain panels in really good condition to find uses for, and I immediately knew I wanted to make the puppet show curtain with one of them. Here's how I did it (almost a full year later!):
  • I used this tutorial from Country Living as my inspiration, but did a few things differently.
  • I cut a 14x18"rectangle out of the middle of the curtain. I cut it way lower than I should have because I sometimes don't think things through all the way before acting. You know that old saying, "Measure twice, cut once," well my version is, "Don't measure at all, cut, then say 'Shoot!'"
  • Using this amazing tutorial from Dollee, I attached bias tape all around the inside of the opening instead of the ribbon the CL tutorial called for. I don't like raw edges!
  • I hemmed the edges of my stage curtains with a double, 1/4" hem.
  • I used the leftover bias tape to make the stage curtain ties instead of ribbon.
  • I bought a $2.00 tension rod from Target and put the curtain up in a narrow hallway. It could also work in any doorway, and is completely portable. The CL tutorial wanted you to attach ribbon loops to the top corners and put nails in your doorframe--which I would never do! Besides, then what was the point of starting with a curtain??
  • We enjoyed a delightful puppet show that very night.

The whole process took all day for me, but only because I did it in bits and pieces. It really only added up to about 2 hours of work, and only cost as much as a tension rod.

Friday, January 22, 2010

Emily's Brown Paper Package

I'm the Max half of Max and Ellie (the lazy one that has never posted before), but I'm FINALLY posting pictures of my brown paper package. My partner Tara sent me some sweet treats!


I love this aromatherapy eye pillow, made with lavendar and red rose petals. I have a BUSY toddler and #2 on the way, so this comes in handy during my daily naps (I'm serious)!

I also recieved some Silk Road Pillow Spray...again, totally comes in handy during nap time!

My edible treat was this chocolate cherry brioche from Whole Foods...yum!

Thanks, Tara! Check out her aromatherapy eye pillows, pillow spray and more at her etsy shop elanvitalanthology.etsy.com, or visit her blog elanvitalanthology.blogspot.com!

OK, now I can leave the Max and Ellie blogging to my sister again! Until next year...

Monday, January 18, 2010

Melissa's Brown Paper Package

I feel like a crumb-bum for not posting these pictures sooner! I decided to host the Brown Paper Package Exchange last year because, well, I like to get packages in the mail (don't we all!). My partner, Chantelle, sent me the sweetest, most thoughtful package.


Such beautiful wrapping! This is what I had in mind for the gifts I sent. If I showed you a picture, you would see just how far off the mark my wrapping was! Seriously, it bore no resemblance to the gorgeous wrapping on the gifts from Chantelle!


Gorgeous wrapping that doubles as a headband!

I haven't figured out yet which outfit to wear this with for maximum impact, but I'm on the look-out.


A jar of Chantelle's grandma's homemade apple butter. I love apple butter. It is one of my favorite condiments. I actually got a spoon out and took a big bite of this as soon as I opened it!


A beautiful necklace that I put on immediately and have worn many times since. It says, "Find the joy in the unexpected." Chantelle sells these and other lovely, handmade pieces of jewelry in her Etsy shop, Chantelle Nicole Designs.


A coordinating set of red and green glittery scrolled paper ornaments. I can only guess they were handmade!


Probably the most thoughtful gift of all--a book about Norwegian Christmas traditions and how they have changed since coming to America.

Thanks Chantelle!

Thursday, January 14, 2010

Relief for Haiti

Just a quick note from a full heart--

At this point, we've all heard about the disastrous earthquake in Haiti. If you, like me, want to help but feel a little helpless in light of the magnitude of the tragedy there, here are just a few ways to make a difference.

  • Jen at Indie Fixx is having an auction, with all proceeds being donated to the Red Cross International Response Fund. The items being auctioned are beautiful and handmade, and Jen is even footing the bill for Paypal fees.
We sometimes think--or at least I do--that what we can give is so small it won't make a difference, it'll just be a drop in the bucket. But when we all give a little, those tiny drops add up and can change lives!

--Melissa

Monday, January 11, 2010

Shop Spotlight & Give-Away: True Love Found


I was delighted to be paired up with Amy, the brains behind True Love Found, for the Shop Swap & Blog event I signed up for last September. Amy is a stay-at-home mom to two adorable kids: big sister Buggie, and brandy new baby brother, Jellybean. Amy's Etsy shop, True Love Found, is stocked full of the most adorable handmade felt crowns I've ever seen. When we started emailing each other, I told her I'd love a birthday crown for each of my two daughters, but gave her very little info besides one's favorite color (red) and the other's nickname (the little Hedgehog). I let her have complete creative power, and within an hour Amy had emailed me pictures of the finished crowns. And they are just perfect! Amy also sells adorable magic wands, and felt and fabric flower hair clips. And she loves to do custom orders. Amy also blogs at Buggie and Jellybean, where she has lots of great posts and fun give-aways.


Amy is generously sponsoring our give-away today. The winner of the give-away will receive a $25 store credit at Amy's fabulous store, True Love Found. That's enough to buy a crown, a wand, and a hair clip! Thanks Amy! To enter this amazing give-away, visit Amy's store, True Love Found, and leave a comment on this post with your favorite item. You can get 5 additional entries by buying a bit of cute, felty goodness from Amy's store (just leave 5 separate comments on this post). The give-away is open until next Monday, January 18th. We'll close comments at 9 AM pacific time and announce a winner! Comments are now closed. Congratulations Carole; we'll be contacting you shortly!

Friday, January 8, 2010

New Items for a New Year!


We've reopened the Etsy shop and stocked it full of cute new things! Up first are the Little Baby Blankies. A certain Max and Ellie seamstress--I won't say who, but it's not me!--still sleeps with the blankie she's had since birth. What stories that blankie could tell! Every baby deserves a soft, snuggly blankie to cuddle up with at nap time, bed time, or any time. Our blankies are made from quilter's weight cotton in beautiful designer prints, and are backed with super soft minky dots in white or pink. Measuring at 16x19", they are the perfect size for snuggling at home or on the go. They fit in purses, backpacks, diaper bags, and suitcases, so they can go anywhere your baby goes.

Little Baby Blankies--sweet designer fabric backed with soft, white or pink minky dots


Friday, January 1, 2010

Happy New Year and an easy Paper Garland


I was inspired by this project at the Purl Bee and this project from Martha Stewart to create these festive, whimsical paper garlands for our New Year's Eve party. When I was little, we spent quite a bit of time on New Year's Eve cutting confetti out of construction paper. It didn't bother us that we put so much work into something whose sole purpose was to be thrown into the air and then immediately vacuumed up by my mom. These days, however, I just don't have that kind of time! These garlands took less time to make, stayed in the air longer, and can be used again! And don't they just look so cute!

The beauty of paper garland is its versatility. By changing the colors of paper you use, you can make paper garland for just about any holiday or occasion; I think they'd look particularly sweet in pastels for a baby shower, or spring greens for Easter. And you can make them as long or as short as you like!

Materials:
  • colored construction paper in your choice of colors
  • thread to match (I used white)
  • scissors
  • a sewing machine
Instructions:
  1. Cut circles out of paper. Use whatever colors you want and make the circles all different sizes.
  2. Sew the circles together in a big long chain using your sewing machine.
  3. Display!