Wednesday, May 27, 2009

Little Chef's Apron Give-Away


COMMENTS ARE NOW CLOSED! WE HAVE CHOSEN A WINNER! CONGRATULATIONS MICHELLE, #110!


Welcome to our May Giveaway Day give-away on Max and Ellie! One of the items that we love the most in 
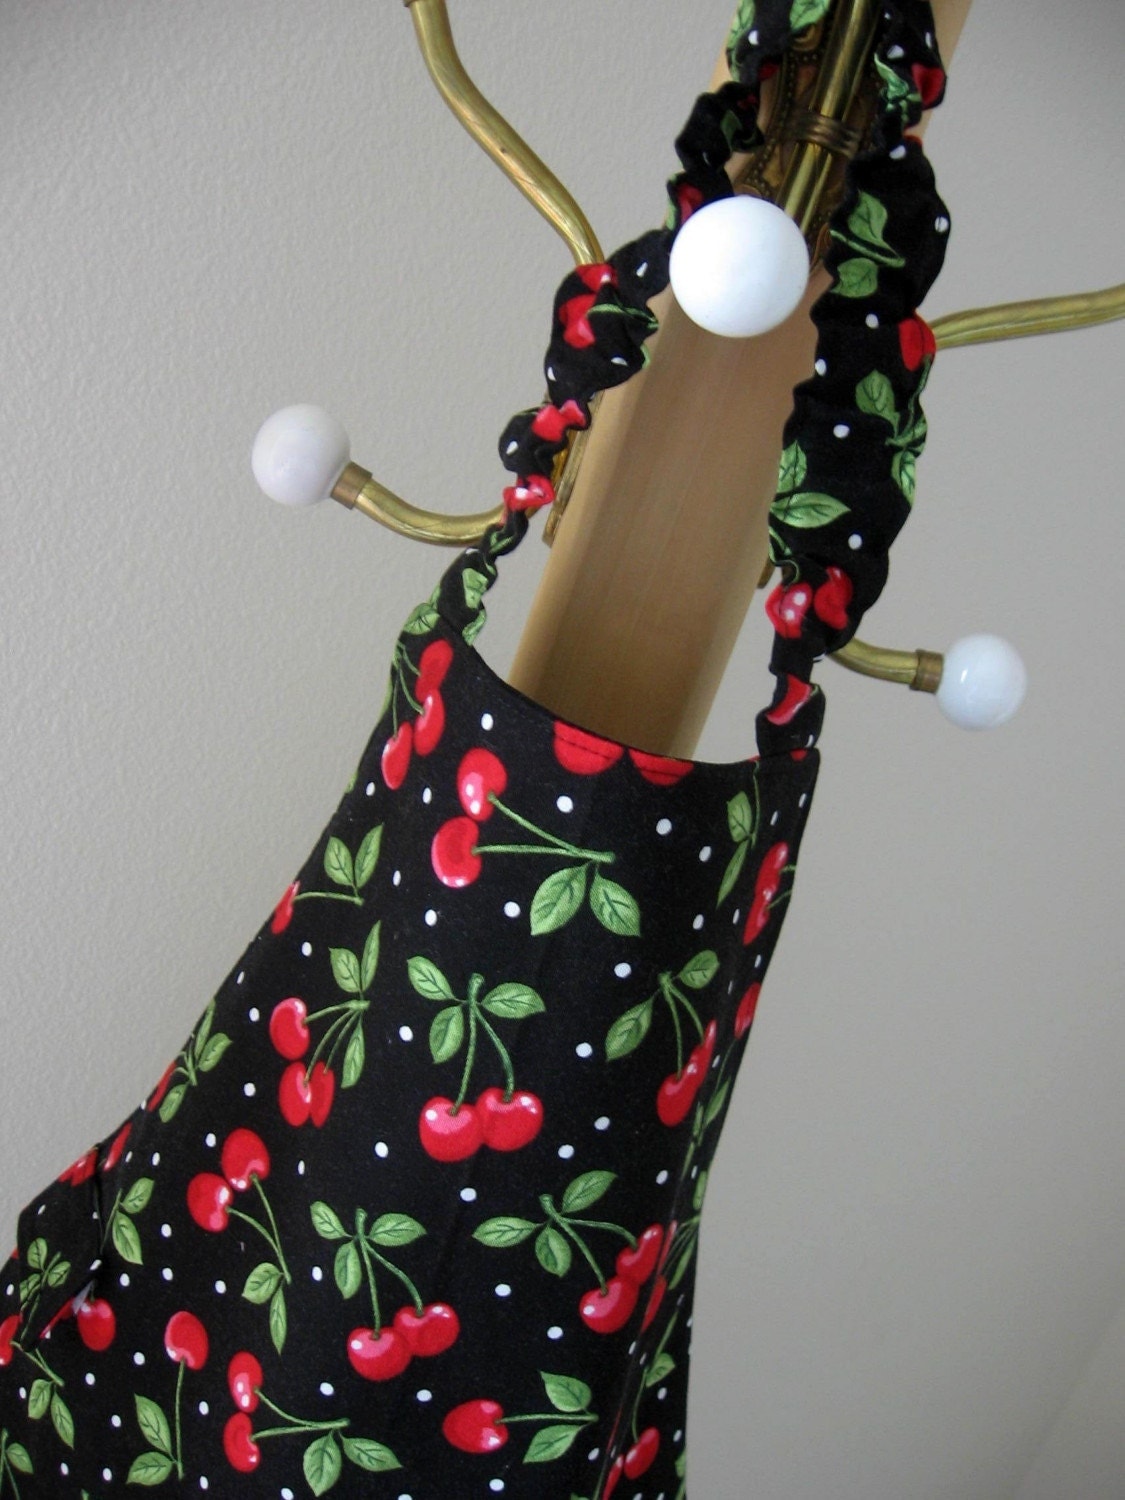
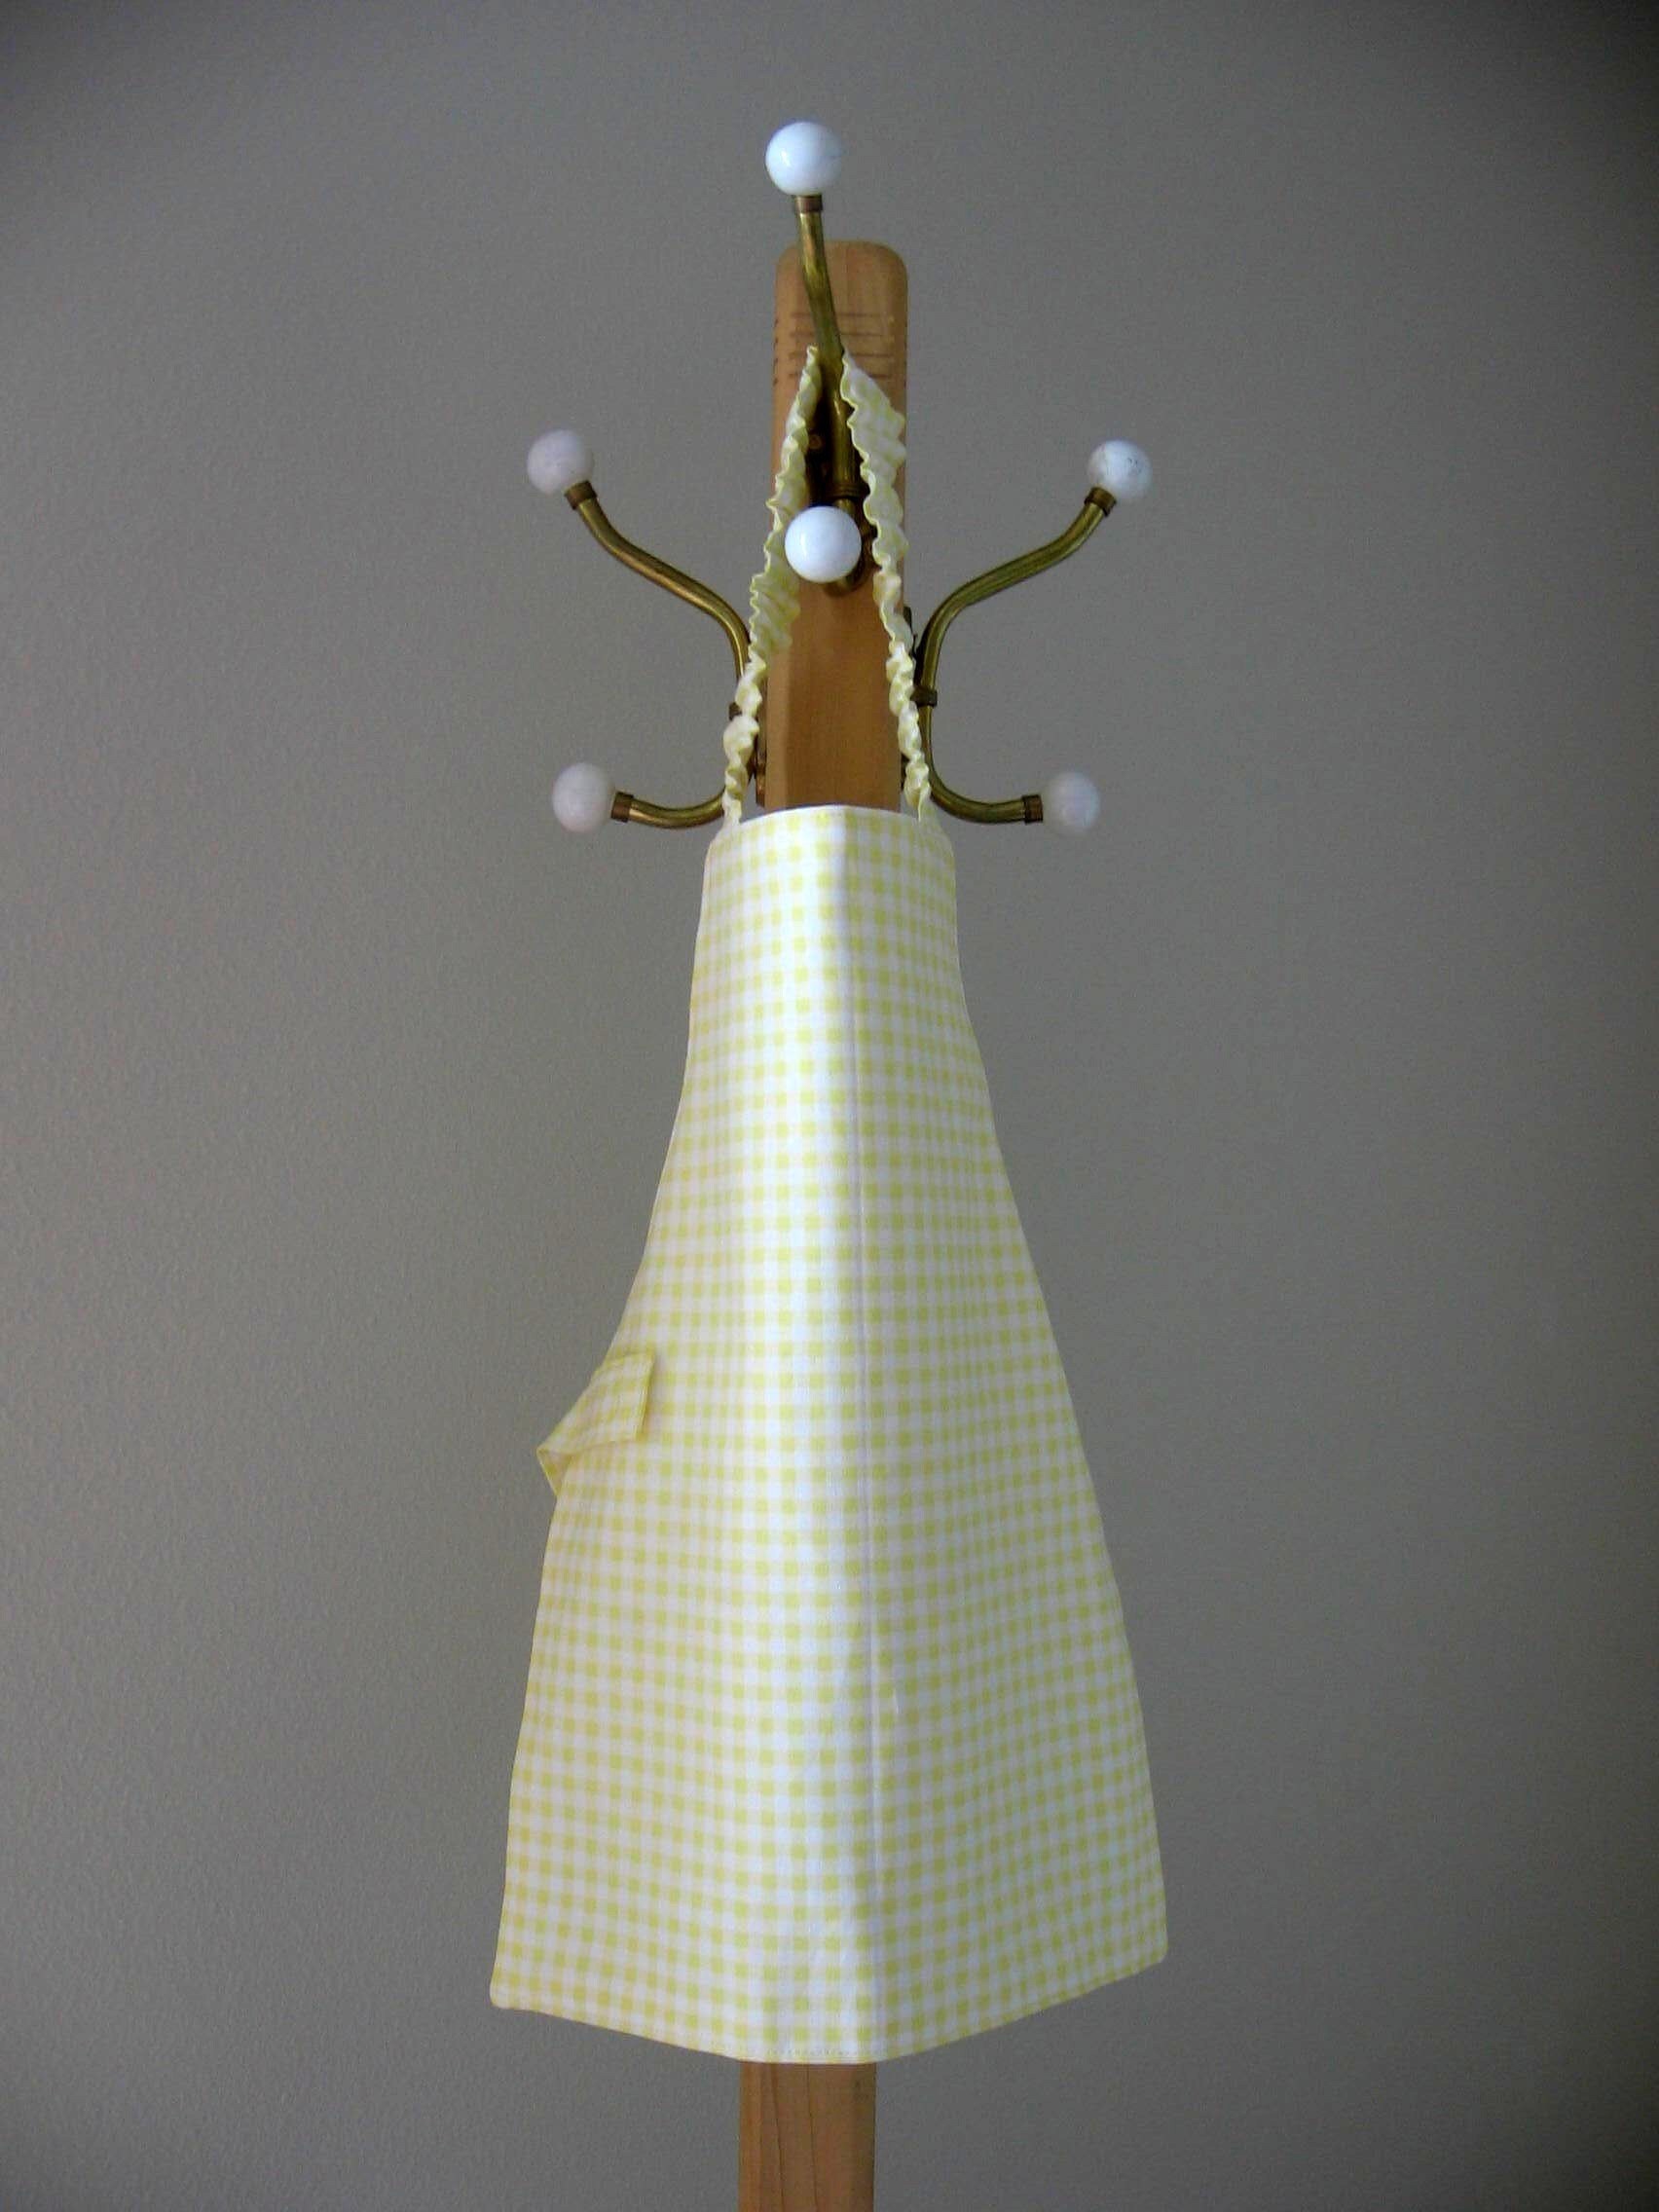
our shop is the Little Chef Apron.

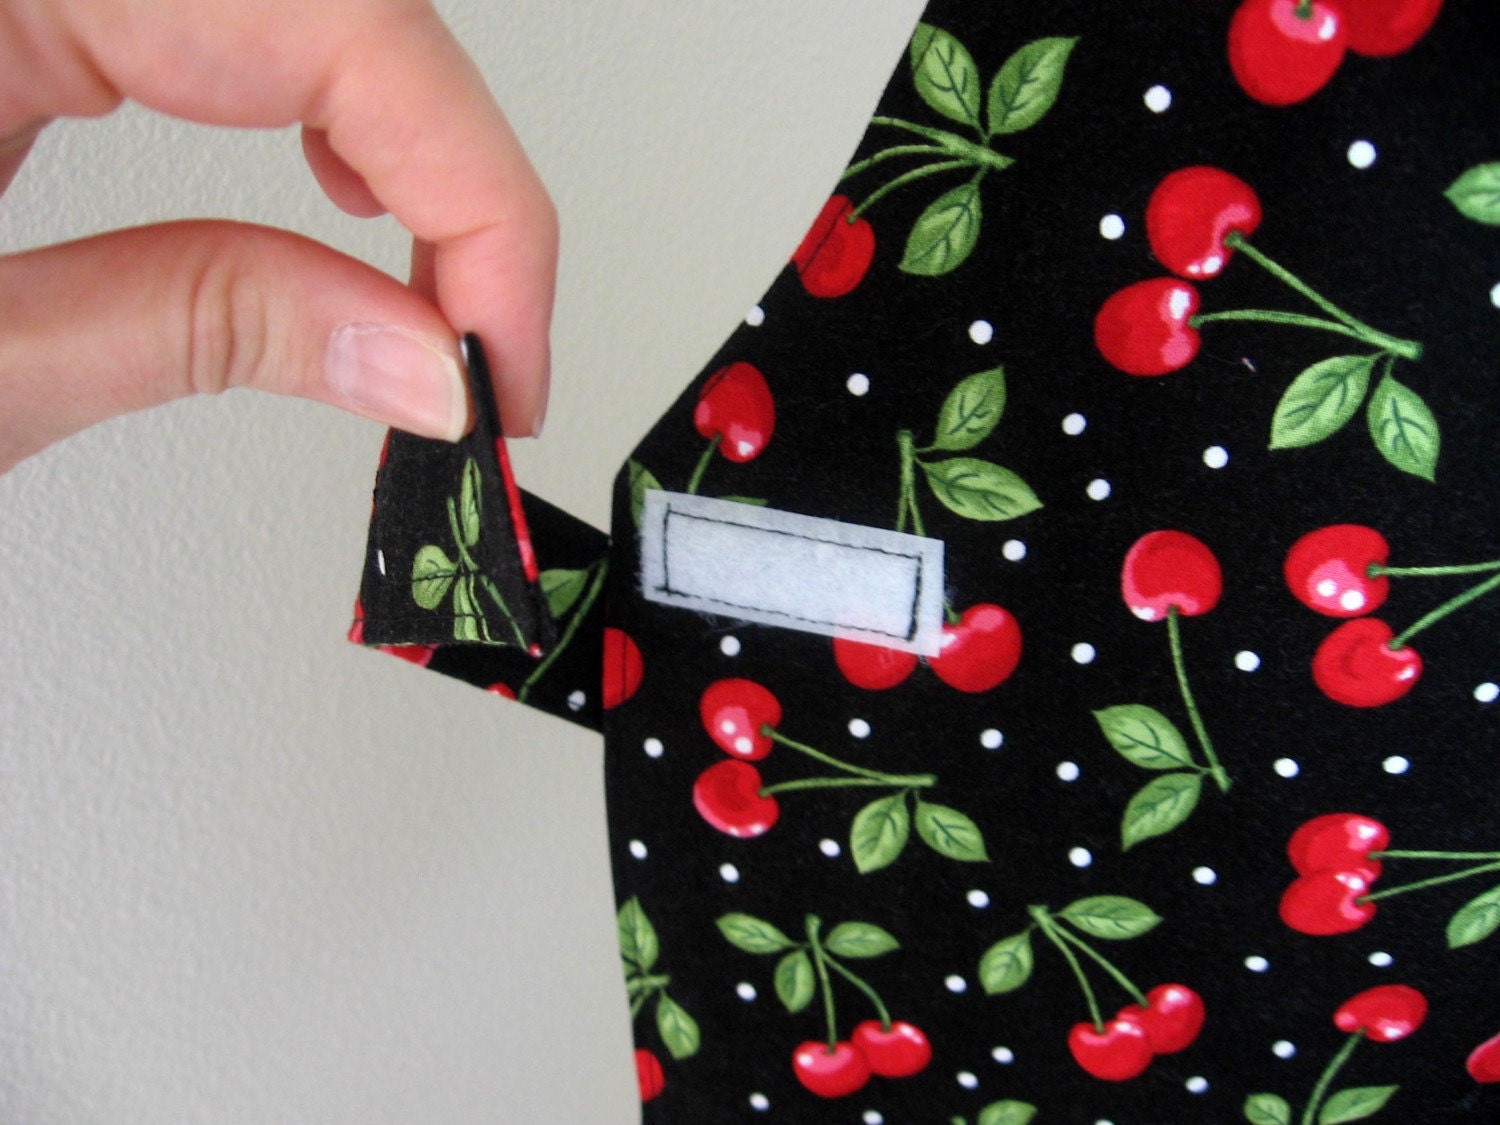
Perfect for your kitchen helper, these aprons are made from beautiful quilter's weight fabrics using a pattern from Sew Liberated (formerly Montessori by Hand). Each apron has elastic in the neck strap and a velcro closure on the waist strap, so little chefs don't need any help from Mom or Dad. They are fully lined and top-stitched, and wash up beautifully! Our 3-year-old adores hers, and loves being able to put it on and take it off all by herself, whenever she wants!

The lucky winner of our give-away will receive one of these lovely little aprons, and they get to choose from 17 adorable fabrics! To enter, please visit our Etsy shop, Max and Ellie, and have a look around. Then come back here and leave a comment on this post telling us what items you like! Please include your email address in your comment. That's it! The contest will run until midnight on Sunday, May 31st. We'll randomly choose a winner and post the results bright and early on Monday, June 1st! Good Luck, and Happy Shopping!!

**This give-away is open to everyone everywhere!**


Available Fabrics

pears on brown, lemons, pears and apples on blue, cherries, yellow apples, red apples


2D zoo, yellow gingham, camo, frog pond, yellow tadpoles, pink tadpoles


ugly duckling, retro trees, sushi, red robots, rockets

Thursday, May 14, 2009

Ribbon Blankie/Pillow Tutorial


A friend of mine has a very energetic 4-year-old. She had the idea that a heavy pillow he can hold on his lap while sitting will help him calm down when he gets too excited. And she asked me to make the pillow! I have been very excited to make this, my first commissioned project for a non-family-member! As I was making it, it occurred to me that you would use the exact same steps to make a ribbon blankie! So here's a little tutorial, my first, so be kind!

Ribbon Blankie/Pillow Tutorial
My pillow has a finished size of approximately 12x18 inches and used 3 2-lb bags of poly pellets


Materials:
  • 2 pieces of fabric, washed, ironed, and cut to the same size
    I used the same fabric on the front and the back of my pillow, but you could use two coordinating prints or a print for the front and some flannel or minky fabric for the back; it is up to you. You will sew the pieces together with 1/2-inch seam allowance, so decide how big you want your finished product to be and add 1 inch to each dimension.

  • coordinating ribbon, cut into 3-inch pieces
    I chose 5 different ribbons. Each is about 1/2-inch thick. You could use wider ribbon, but I wouldn't go too much narrower; you don't want the ribbon twisting or losing its shape. I used mostly grosgrain ribbons, but again, it is up to you. You DO NOT want to use wired ribbon or ribbon that has loose thread running horizontally across the back (If you don't know what I'm talking about, you probably don't have that kind of ribbon anyway, so you are OK).

  • coordinating thread
  • sewing pins
  • scissors
  • ruler or measuring tape
  • calculator (optional)
  • sewing machine (not necessary if you like sewing by hand)
  • iron and ironing board
  • poly pellets or stuffing of your choice (ONLY IF YOU ARE MAKING THE PILLOW)

Instructions:
  1. Take the piece of fabric that will be the top of the blankie/pillow and lay it right-side-up on a flat surface.
  2. Fold each piece of ribbon in half (like the fortune in a fortune cookie) and iron.
  3. Lay the folded ribbons on the fabric you have laid out and figure out your spacing. I completely bungled this step. :) Make sure the raw edges of each ribbon are lined up with the raw edge of the fabric and that the rest of the ribbon is laying on top of the fabric pointing toward the middle.
  4. Pin the ribbons in place. Make sure the pin is going through the ribbon as far from the edge of the fabric as possible and parallel to the edge of the fabric. This will ensure that no pins get snagged by your sewing machine.

  5. When all ribbons have been pinned into place, lay the piece of fabric that will be the back of your blankie/pillow on top right-side-down, making sure all edges match up. Pin the two pieces of fabric together in two or three places in the middle; this will make sure your fabrics don't slip out of place a lot while you are sewing.

  6. Using a 1/2-inch seam allowance, carefully sew your fabric/ribbon sandwich together, leaving a 3-inch gap on one side for turning your blankie/pillow right-side-out. Make sure you reinforce your stitches at the beginning and the end.
  7. Using the gap you left in the side of your project, very carefully turn it right-side-out. Watch out for pins and remove them as you find them. Before I turned mine, I unpinned the two pieces of ribbon that were in the gap and set them aside. This got them out of the way while I was turning. Use a pencil or knitting needle to make sure your corners are nice and pointy, but don't poke too hard or you'll poke a hole in your project. (What, like I'm the only one who's ever done that or something!)

  8. Fold the edges of the gap inside so that the side of your project is nice and smooth. Iron your blankie/pillow to get the wrinkles out, concentrating on the edges of the gap you folded under. Pin any ribbons back into place if you took them out for turning.

  9. BLANKIE: Stitching close to the edge, sew around the entire edge of your blanket, making sure you close the gap and catch the ribbons. If you are making a blankie, you are done!!!
    PILLOW: Stitching close to the edge, sew around the edge of your pillow, making sure you leave the gap open again.

  10. Fill your pillow with whatever stuffing you have decided to use. If you are using something soft, just jam it in until your pillow is as fluffy as you want it. If you are using poly pellets or uncooked rice or popcorn kernels or something small and hard, a funnel will help. Either way, keep in mind that you are going to have to sew this pillow shut, so you don't want it full to bursting or it will never fit in your machine!

  11. When your pillow is sufficiently full, sew the gap shut, making sure to match up your new stitches with the ones you sewed in step #9. Don't worry if it isn't absolutely perfect; just do your best. Voila! You are done!